
Are you struggling to figure out how to print beautifully on washi paper using your printer?
To print beautifully on washi paper, you need to set the paper with the correct printing surface facing up and configure your printer settings more carefully than usual.
In this article, we’ll explain how to print beautifully on washi paper using your printer, which side of the paper to use, and the necessary printer settings in detail.
After reading this article, you’ll be able to print on washi paper with a good understanding of the precautions and important points to consider.
We’ll also introduce washi papers specially treated for inkjet printers, so please read until the end.
How to Print on Washi Paper
You can print on washi paper using a printer, but it is considered more difficult to print on compared to other types of paper.
This is because washi absorbs ink more easily than other papers and tends to stretch, causing the print position to shift and leading to more frequent failures.
To achieve the best printing results, here are some methods you can follow:
• Use washi paper compatible with inkjet / laser printers
• Prepare the washi paper properly
• Load the washi paper correctly into the printer
Let’s look at each method in more detail in the following sections.
Use Washi Paper Compatible with Inkjet / Laser Printers
When you want to print on washi paper, it’s recommended to choose in advance either washi paper that has been coated for inkjet printers or untreated washi paper suitable for laser printers.
Some people intentionally print on regular washi paper, embracing the ink bleeding as part of its charm.
However, if you want to print without ink bleeding, you should prepare specialized washi paper.
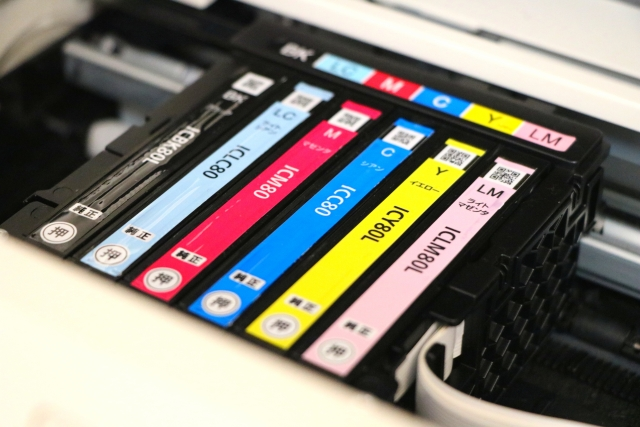
Also, when using inkjet paper, dye-based ink tends to bleed more easily, so if your printer allows it, using pigment ink will result in cleaner prints.
By the way, if you mistakenly use coated paper like inkjet paper in a laser printer, the coating will melt due to heat and can cause printer failure.
Be careful not to use the wrong type of paper.
Prepare the Washi Paper Properly
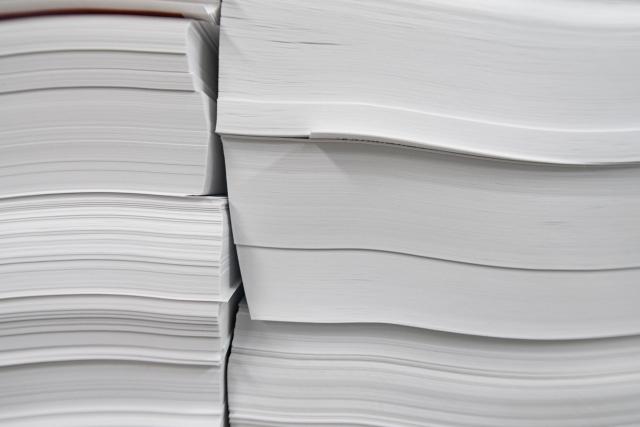
While there are washi papers that are prepared specifically for printing, some may not be suitable for printing in their original state.
For example, washi paper may have a lot of paper dust (shifun) on the surface.
This can cause paper jams, so it’s a good idea to lightly dust off the surface before loading it.
If the edges of the washi paper are uneven or if paper fibers are sticking out, cut them with scissors or a cutter to make them straight.
If the washi paper is larger than your desired size, trim it to a printer-compatible size like A4 or A5 at this stage to make the process smoother.
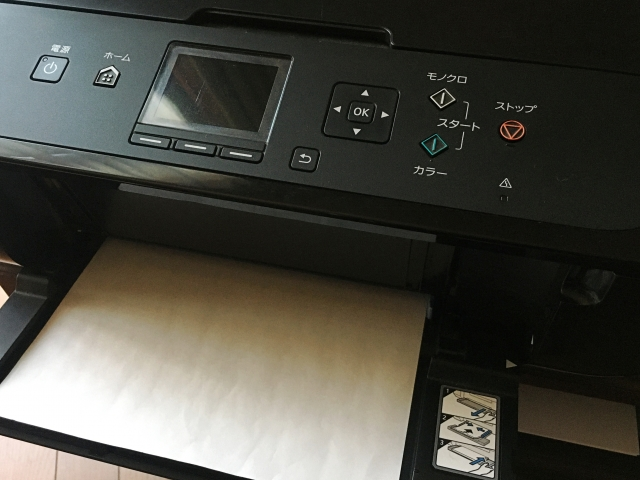
Load the Washi Paper Correctly into the Printer
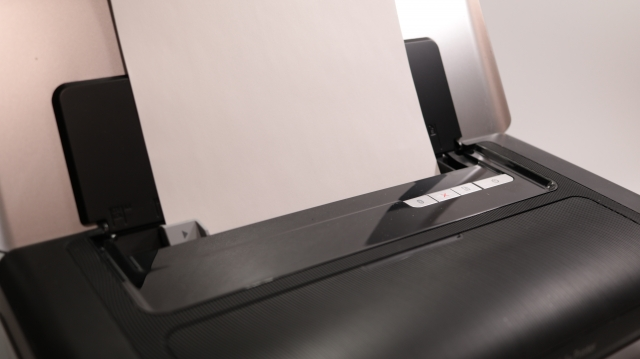
Load washi paper into the printer the same way you would load regular paper.
For inkjet-compatible washi paper, print on the coated side.
For laser-compatible or general washi paper, the smoother side is the printing surface.
Load the paper with the printing surface facing the correct direction according to your printer’s specifications.
If you want to print multiple sheets, printing them all at once can cause jams, so it’s recommended to print one sheet at a time.
Which Side of Washi Paper is for Printing?
Washi paper has a front and back side: the smoother side is the front and the rougher side is the back.
The front side is better for writing as the brush moves smoothly across it and the ink bleeds less than on the back side.
Similarly, when printing, the smooth front side should be set as the printing surface.
As mentioned earlier, for inkjet-compatible washi paper, use the coated side as the printing surface.
Since the orientation for loading the printing surface varies depending on your printer, please check your printer’s instructions first.
What Paper Settings Should I Use When Printing on Washi Paper?
When printing on washi paper, configuring the “Paper Settings” more carefully than you would for regular copy paper will increase your chances of successful printing.
You can access the “Paper Settings” through the “Properties” settings that appear when operating your printer via the printer driver.
The names of these settings may vary slightly depending on your printer, but the basic items and settings are as follows:
| Paper Type | Sets the type of paper you’re printing on. Basically, set it to “Washi Paper”. If this option is not available, select an option with properties similar to washi paper, such as “Plain Paper” or “Matte Photo Paper”. |
| Print Quality | Sets the resolution for photos, pictures, etc. Set it to the highest level available on your printer, such as “Fine”. This increases ink output, but if colors become too saturated, you may need to lower the output to “Standard.” |
| Paper Size | Set the size you want to print, such as “A4” or “A5”. For example, if you want to print in “A5” size, setting larger margins can help make any print misalignment less noticeable. |
| Paper Feed Method | Sets how the paper is loaded. If your printer can handle the paper thickness, use “Auto Feed”. If the paper doesn’t move smoothly, set it to “Manual Feed” and insert the paper into the dedicated tray. |
| Print Head | Sets the height between the ink nozzle and the paper. Since washi paper is more delicate than Western paper, set it to a larger value to increase the distance. The timing for setting this varies greatly depending on your printer. Check your printer’s manual before use. |
| Thick Paper Setting | Sets the thickness of the paper. If you’re using thick washi paper, you need to configure the size settings specific to your printer. Generally, paper is often inserted through the manual feed tray. |
| Bidirectional Printing | Sets whether to print faster than normal. For washi paper, unchecking this option allows you to maintain the paper’s condition while printing. Faster speeds can cause paper jams. |
Printing Photos on Washi Paper Creates a Unique Texture

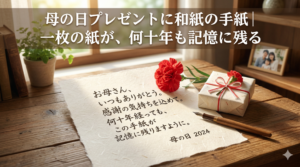
When you print photos on washi paper, you get a unique texture that differs from Western paper.
The texture created by the long fibers of washi and its soft coloration are excellent for creating a special, premium feel.
It works particularly well for photos of traditional Japanese scenes, as well as watercolor paintings and Japanese art that you want to print and display.
Additionally, since washi is durable, it helps protect photos and pictures from deterioration and discoloration that occur over time.
For those thinking about printing on washi paper with an inkjet printer, we recommend this washi paper.
It has been specially treated for inkjet printers and can be used not only for printing but also as stationery to give to others.
This washi paper comes in A4 size, and plain versions are available in packs of 10, 50, or 100 sheets.
In addition to the plain paper, you can choose from five colors: plain, blue, pink, green, and purple.
There’s also a 5-sheet set that contains one sheet of each of the five colors.
This is recommended for those who want to try each of the colored washi papers.
Summary of How to Print on Washi Paper
In this article, we explained how to print on washi paper and key points to consider, including which side to print on and paper settings. We also introduced recommended inkjet-compatible washi paper.
• Use washi paper compatible with inkjet / laser printers
• Check and prepare the condition of the washi paper before loading it
• Load the washi paper correctly according to your printer
• The printing surface is the coated or smoother front side
• Configure detailed paper settings for each option to maintain the quality of the washi paper
• Printing photos on washi paper creates a more special atmosphere
• There are washi papers that can be used not only for printing but also as stationery
Please use this article as a reference to print on washi paper while maintaining its beautiful condition.


Comments